I’ve reached the end of my free time set aside for this character, and I’m generally happy with the results. I’m calling this one complete, though there are some great notes received from various forums that I’ll be keeping in mind for my next projects. Let’s take a look at the final steps from my last blog post here.
Since the last post, it’s been quite a jump in progress on this character. The low res cloth was ZRemeshed inside of ZBrush, with maps being baked in Topogun. From here, I assembled all of my low-res bits of geometry in both Maya and Marmoset Toolbag for various render tests as I started to paint. Here’s a look at some of that low-res assembly with the normal maps applied, prior to texture painting:
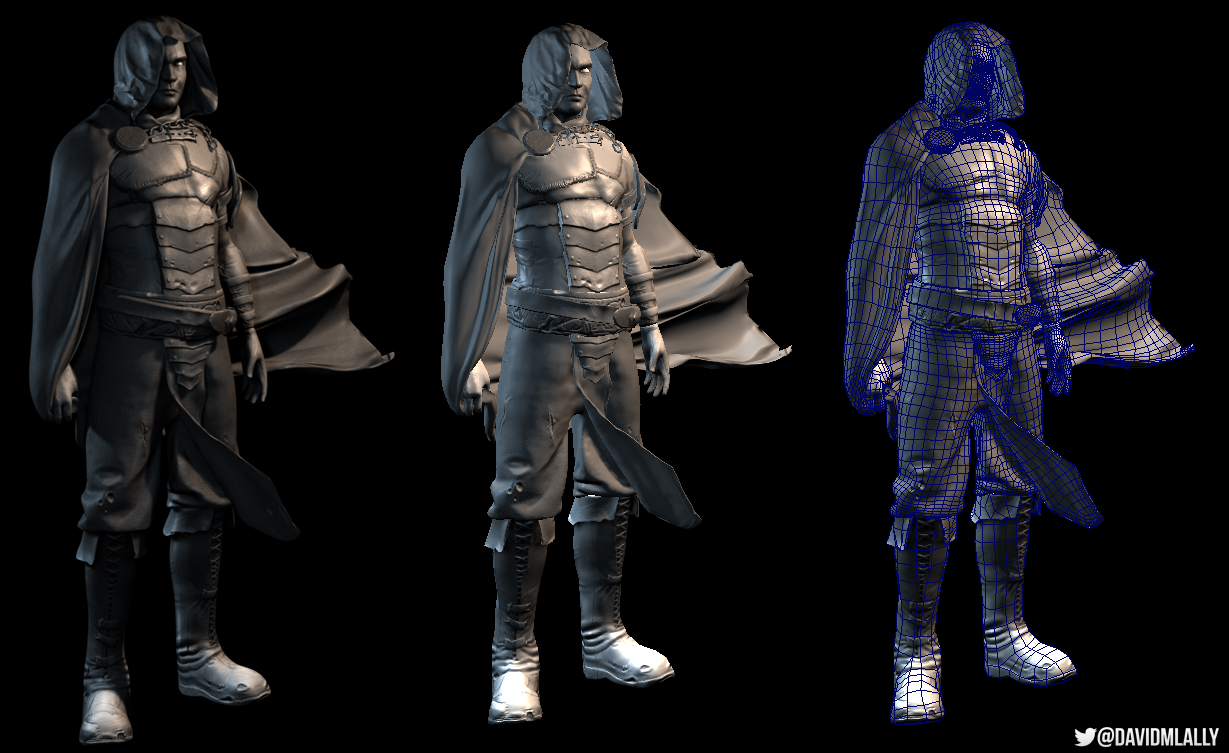
Low resolution geometry with only normal maps applied. Basic lighting setup in Maya’s Viewport 2.0.
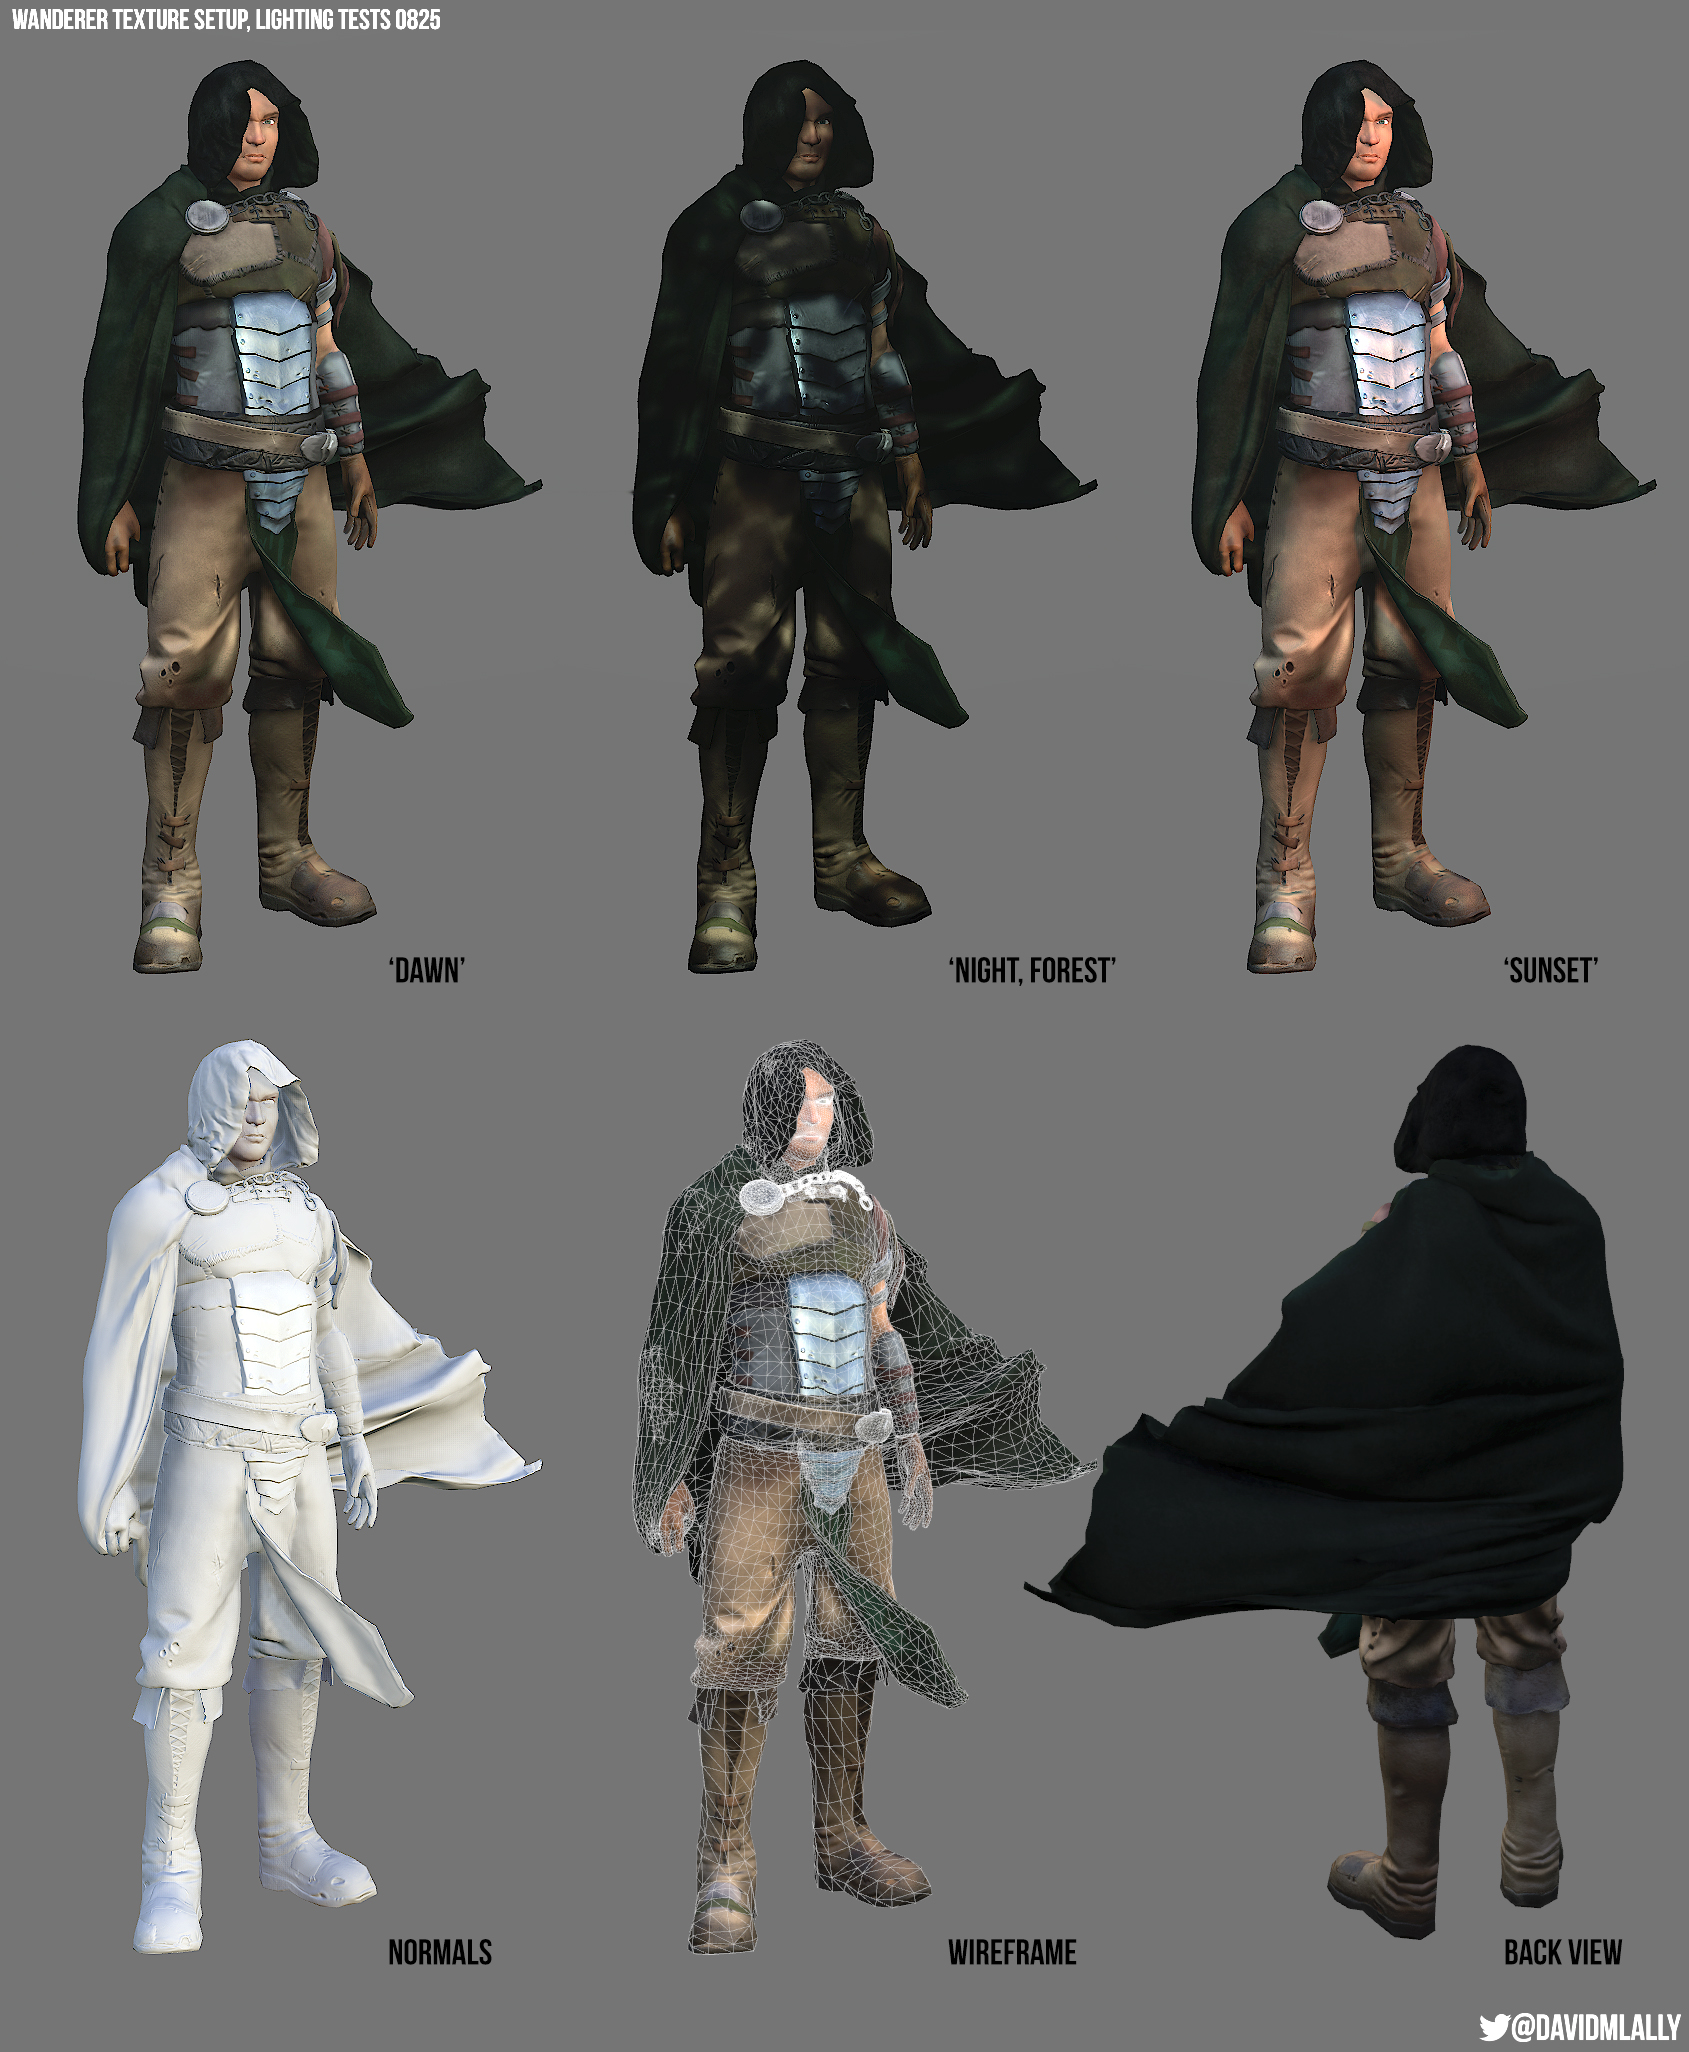
I took the hardware ambient occlusion bakes from Topogun and used those as a base for defining color regions inside of Photoshop for each set. To keep the number of texture maps low, many objects share the same texture map (i.e. arms and gloves, head and eyes, torso and belts, etc.) Once I defined some base colors in Photoshop, I imported all of the low-res pieces of geometry inside of Mudbox for additional 3D paint. I really love Mudbox for this as I can have my normal maps applied to the model and make paint adjustments in real-time. I tested my texture map progress in Marmoset with various lighting setups, including some fun forest gobo setups to make him extra mysterious. Here’s a breakdown:
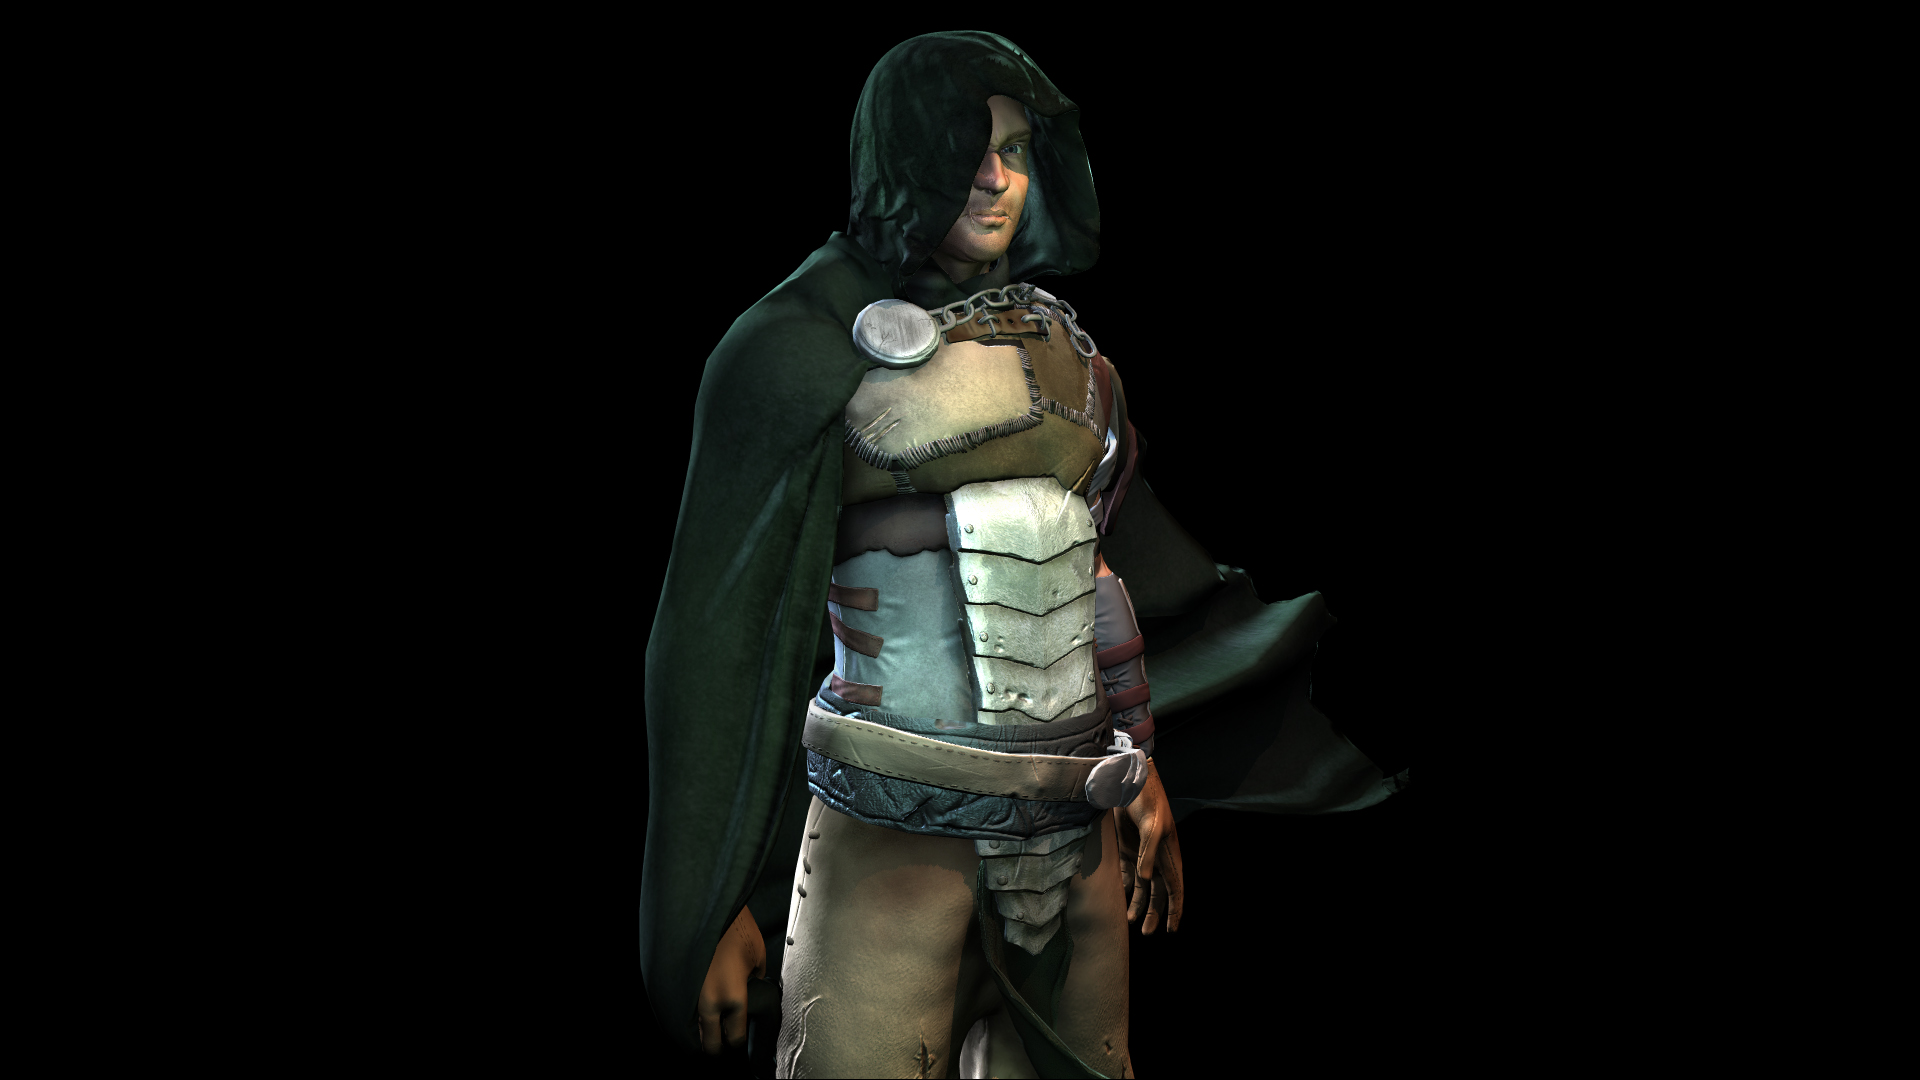
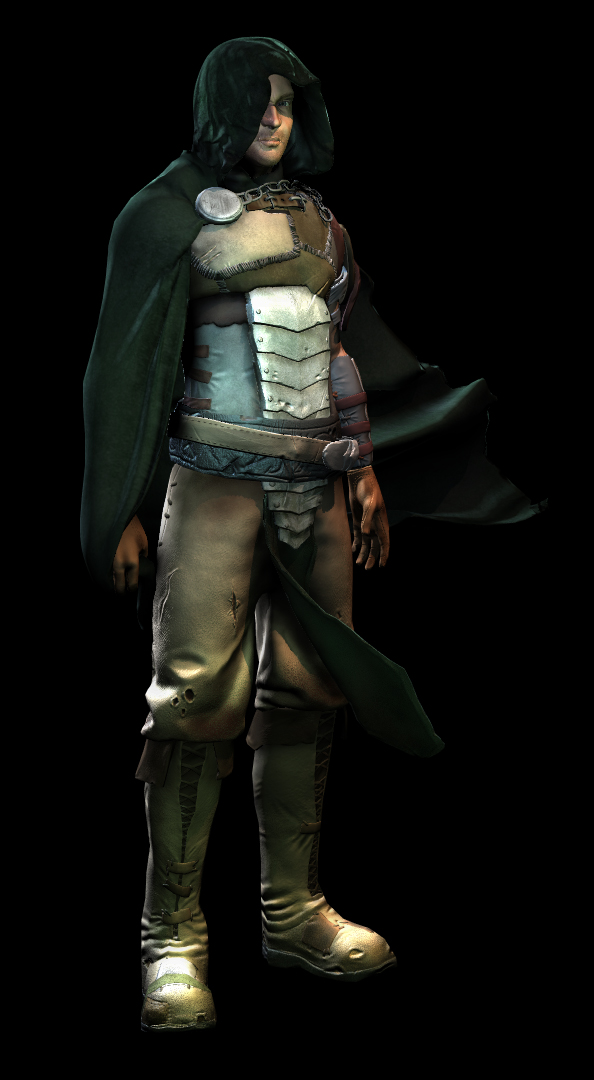
For my final renders, I did a similar setup using Maya’s Viewport 2.0 with pretty high settings for AA sampling, occlusion, and so on. I also wanted more flexibility to do some basic camera moves for a turntable recording. There are small things that I’d like to tweak in a few textures, but the feel of the character came together as I intended, so I decided not to noodle on small notes and move on to the next project. This was ultimately a personal challenge to take a game character all the way through, while experimenting with some new ZBrush features to increase speed of retopology and Marvelous Designer as a new tool for cloth. I’ve learned a number of tricks while going through the process of this character, and I’m looking forward to using them (and learning others) on the next one. Thanks to all for the C&C throughout!
More to come soon!
-dlally